Ok Ladies and Gentlemen. Heres the SA style coloring tutorial that I have come
up with! Im sure that there are many of you that have tried to emulate the SA
coloring style just like me so I will share what I have figured out in my research
with you.
- I'm using photoshop 7 to do this. However, I believe photoshop 5
and up can do this as well.
- I'll be using a pic of Sonic that was vectored in Illustrator 10.
Updates - Revision #2
- Redone layout
- Added more pics
- Animated Gifs
1.Tools
 |
- This tutorial uses Adobe Photoshop 7. However, I
believe photoshop 5 and up can do this as well. I'll be using a pic
of Sonic that was vectored in Illustrator 10.
- Here are the tools that we will be using (Fig. 1) When you click and
hold a button, various other tools will pop up that are shown on the
side
|
Fig. 1 |
2.Info
Before we start, let me show what makes SA style so distinct.
SA style combines elements of soft shadinng and Cel-style shading.
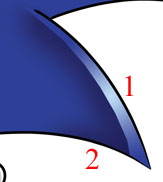 |
Fig. 2
- Gradient Highlights- this is the key element that makes SA style so
distinct. Instead of a solid highlight, it is a gradient that is one
part the base color and the other is a lighter color. The highlight
is also a bit larger than usual.
- Soft Shading - most cell style has solid, nonblended color. SA style
has a soft blend.
|
|
Fig. 2 |
|
 |
Fig. 3
- This applys for the skintone, hands and feet as well although at some
occations it can be a solid color such as white highlights for the hands.
|
Fig. 3 |
|
 |
Fig. 4 |
Fig. 4
- Highlights depend on color.
- Basic rule of thumb: Darker colors require highlights
while lighter colors can use solid highlights.
- Gradient highlights consist of one half the base color and the other
a lighter color. For example: Blue is the base (foreground color) so
Light blue will be the light color (background color).
|
3.Prepare
 |
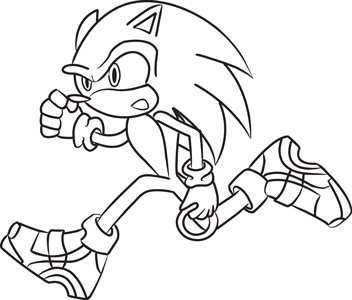 |
Fig. 5 | Fig.
6 |
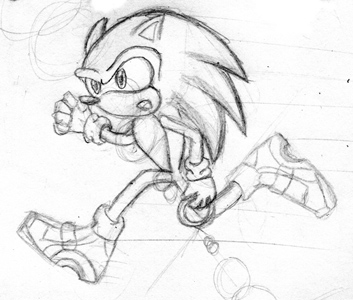
- You should have your drawing prepared to be colored.
- I vector/ink my drawings using Adobe Illustrator 10 (fig
6).A tutorial on CG lineart can be found here:

- Although Illustrator produces a smoother Lineart, it requires lots of time
and practice to finish.You can take the easier path by inking your drawing
using a pen and erasing the pencil marks before scanning. Be sure to close
every line as possible. This is very important so that it will keep the selections
where they should be.
 |
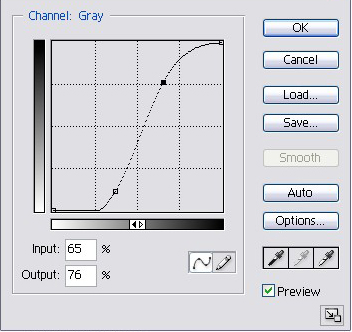 |
fig. 7 |
fig. 8 |
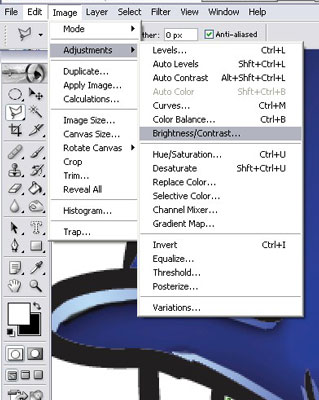
- After scanning, you can use Photoshop to adjust the brightness
and contrast to make the drawing as clear as possible. To do this go to Image>Adjustments>Curves
(fig. 8) or Image>Adjustments>Brightness/Contrast
(fig. 7). Afterward, save the file and continue
to the next step.
4.Layers
 | After preparing your picture,
- When using .jpg files as lineart, duplicate the background
layer, clear the background layer, and set the new lineart layer's Layer
Mode to Multiply.
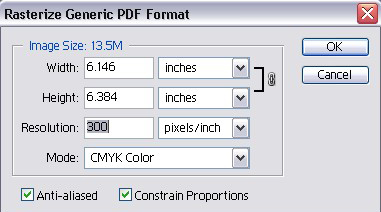
- When using Illustrator files (.ai), A window will
come up (fig. 9), set resolution to 300 or if you have a slower computer
150-200. Create new layer and fill with white, then move it behind the
first layer.
|
fig. 9 |
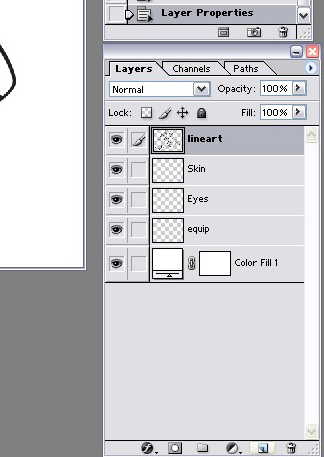 |
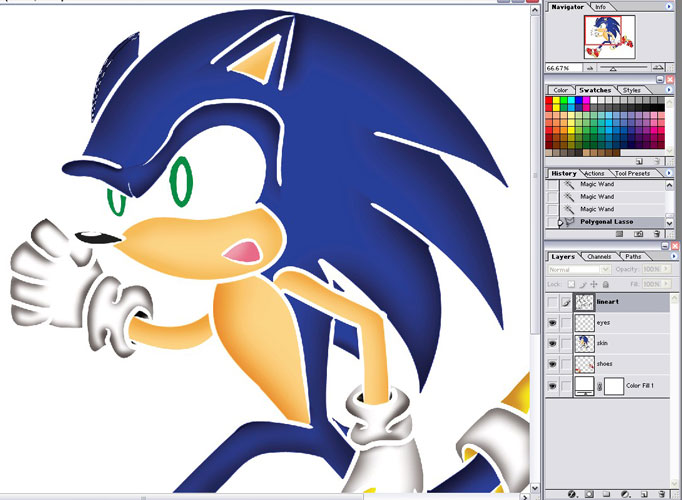
- Create new layers for each body part. Ie: Skin, eyes, shoes, hair etc.
Click the "new layer" button next to the trash can button. This
is used to keep colors organized. The more complex your drawing, the more
layers will be needed.
- Be sure to keep the "Lineart" layer above the other layers.
This will allow you to color under the lines.
|
fig. 10 |
5.Flat colors
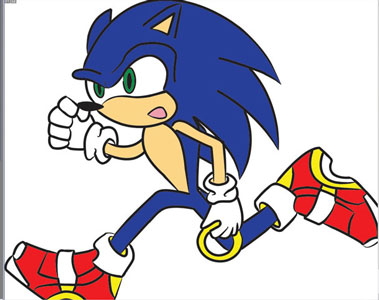 | 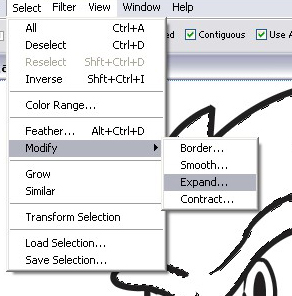 |
fig. 11 |
fig. 12 |
- Select the part you want to color by clicking on its layer (fig.
10).
- Use the Magic Wand tool to select according areas. Photoshop
7 has the ability to use all layers when selecting. If your version
does not support this, switch to the lineart layer, make your selections and
switch back to the desired layer.
- Add selections by holding the Shift key and remove selections
while holding the Alt key. When you have everything selected,
use the Paint Bucket to fill all selections.
- When filling with dark colors, expand the selections by going to Select>Modify>Expand>1
pixels (fig. 12) so that they will go under the black lines and it
wont have that annoying white trace around them.
- Be sure to select the right layer when coloring.
6.Soft Shading
 |
- Now that we have the flats down, we can start shading.
- Use the magic wand to select an area and use the
Burn tool to shade (fig.13).
- Set it to Midtones when shading light colors and
set it to highlights when shading dark colors (fig.
14).
|
fig. 13 |
 |
fig. 14 |
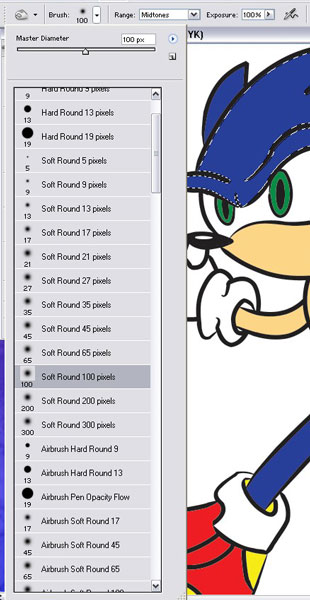 |
- Use large brushes to achieve the soft look.
|
fig. 15 |
 |
- Looks good but we're not done yet.
- You can also go for the soft look by using the Dodge
too to create highlights if you like.
|
fig. 16 |
7.Highlights
Ok this is the key ingredient. The highlights!
 |
- TIP: If you are having difficulty selecting the shades without selecting
the lineart, make it invisible by clicking the "eye" icon
next to the lineart layer.
- This techniqe can also be used to shade (step 6) as well.
|
 |
Thats all there is to it! I really hope you find this tutorial helpful
in your future works ^_<
This is my first tutorial so I apologise for any inconsistencys.^^;;;
-Chemb0t
[email protected] |
Copyright©2003 Chemb0t. All Rights Reserved.
Sonic The Hedgehog is a registered trademark of SEGA, Enterprises.


